If you’ve been playing around with AI image generators, then you’ve probably come across samplers, but what are samplers and what do they do in AI image generation?
You may also know them as schedulers depending on your AI image generator of choice but samplers and schedulers are exactly the same thing and they do the exact same job.
So whether you’re dealing with samplers or schedulers, in this post, I’ll walk you through what they are and show you some examples of the effect they have on your generated images.
What Are Samplers (aka Schedulers)
In layman’s terms, samplers (aka schedulers) are the decision-makers that help AI navigate the vast possibilities of pixel arrangements. They play a crucial role by determining which pixels and patterns make the final cut. It’s an intricate process that helps transform random noise into a coherent image.
They act like a painter’s brush, guided by the complex patterns of probability, to produce images that can be strikingly lifelike or abstractly expressive.
Samplers distinguish themselves from other AI components by making crucial choices about which details make the cut in the final image.
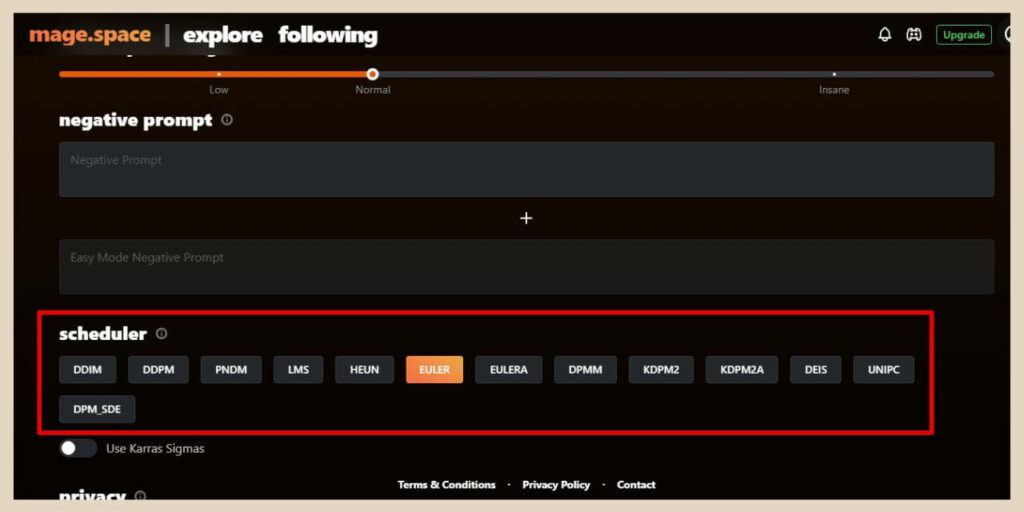
They don’t directly create the picture; instead, they select from a pool of options generated by the neural network, shaping the outcome of the final image. This selection process is a key factor in how realistic or stylised the generated images will become.
How Samplers Affect Your Image Results
Many AI image generators will have numerous sampler options and changing the sampler can make subtle differences to the final image result although some samplers will make a bigger difference than others.
Not all AI image generators will have the option to switch between samplers but many will and they’re great for creating different outcomes for your generated images.
For this example, I’m going to be using Playground AI which is one of my favourite free AI image generators to use.
So, the easiest way to compare samplers is by using them on the same image and you can do that by using AI image seeds.
All AI images have their own unique seed number and you can find this number by clicking on a generated image. This will bring up the prompt and all other settings used to create it including the seed number.
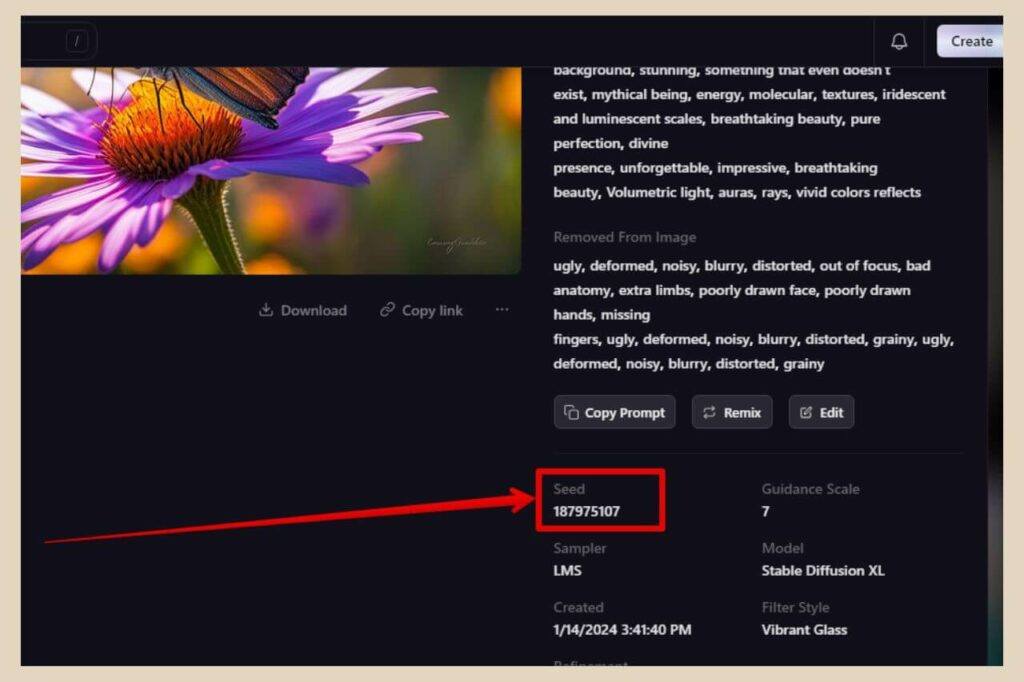
Once you have this seed number, many AI image generators will have a seed area within the image-generating settings where you can paste this to regenerate the same image again.
Sampler Examples
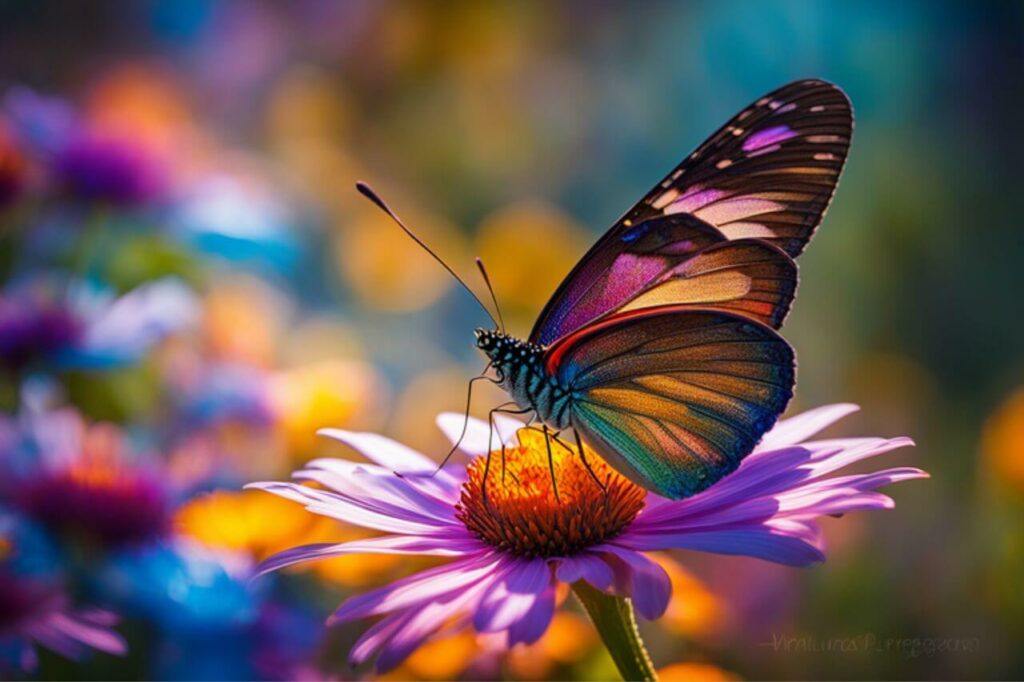
The image below is the original image I’ve chosen to use so I’ve placed its seed number into the seed area and I’m going to keep the prompt and all other settings the same. The only thing I’m going to change is the sampler which was originally Euler.
This next image shows how the results differed when the sampler was changed for each one and as you can see, in this instance, the changes were pretty subtle with three of the samplers.
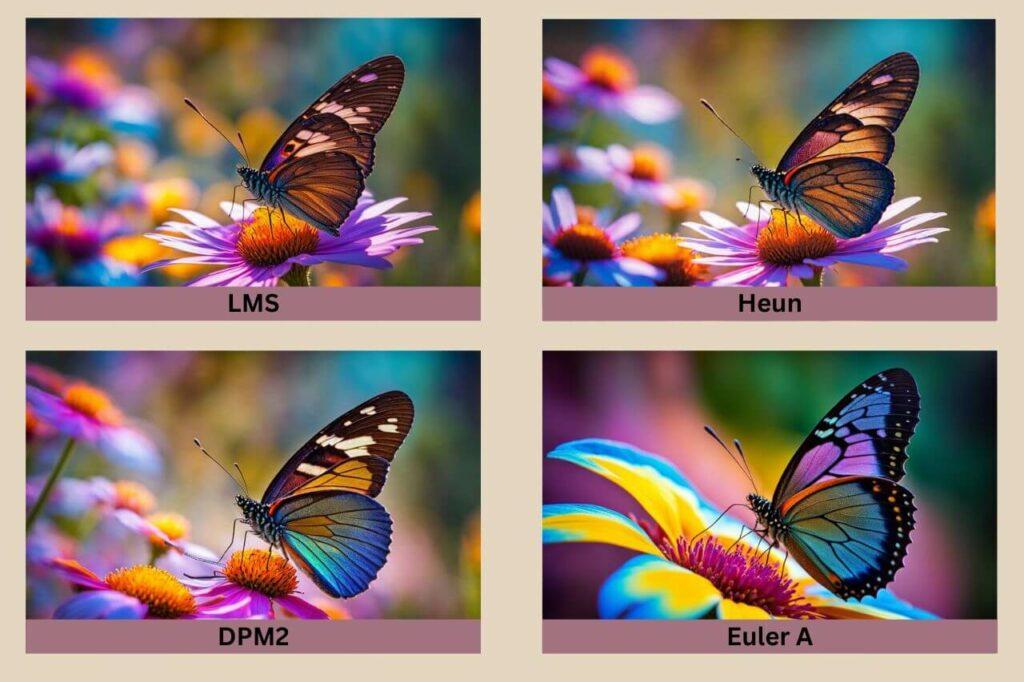
The first three images remained pretty similar to the original although the fourth one (Euler A) had a much bigger effect. So, in some instances, changing the sampler can change the image much more drastically which I’ll explain in a moment.
Samplers On Different AI Image-Generating Platforms
This is even true if you use different AI image-generating platforms where they often use different AI models and sometimes different samplers.
If I use Mage Space instead for the next example, changing the samplers has a bigger effect on every single image.
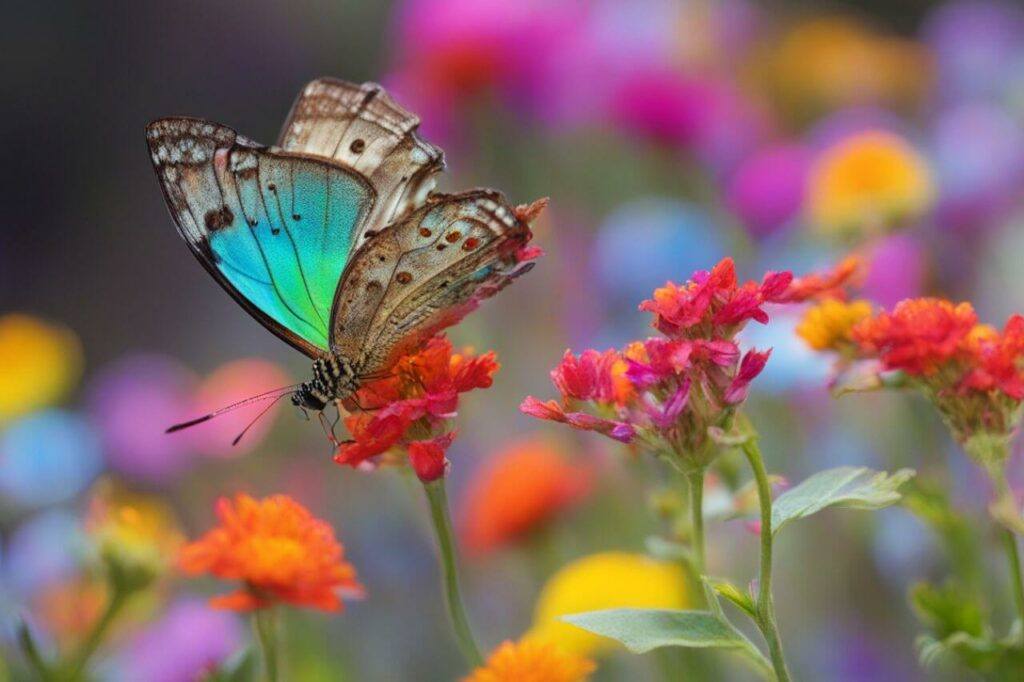
The above image is the original image I generated using the Euler sampler and much like before, the only thing I’m going to change is the sampler.
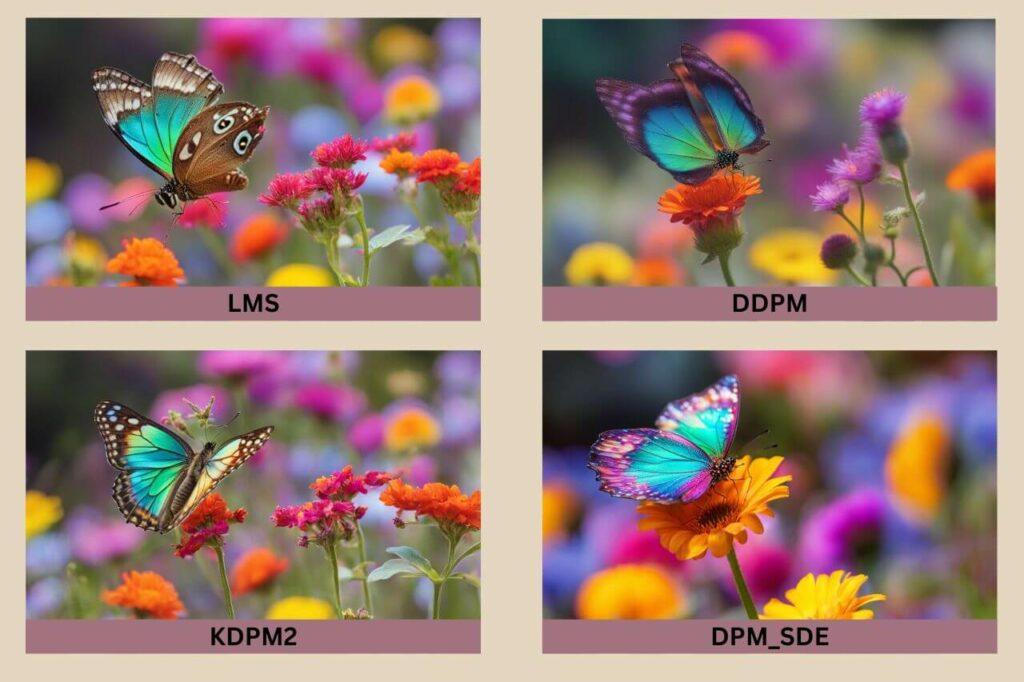
As you can see, although the differences weren’t drastic, changing the samplers did make a bigger difference to the final images every single time as compared to the Playground AI results.
When Bigger Changes Occur
For the most part, changing the sampler will cause subtle differences in the final image such as colours, textures and other finer details. However, that isn’t always the case as you can see in the below example.
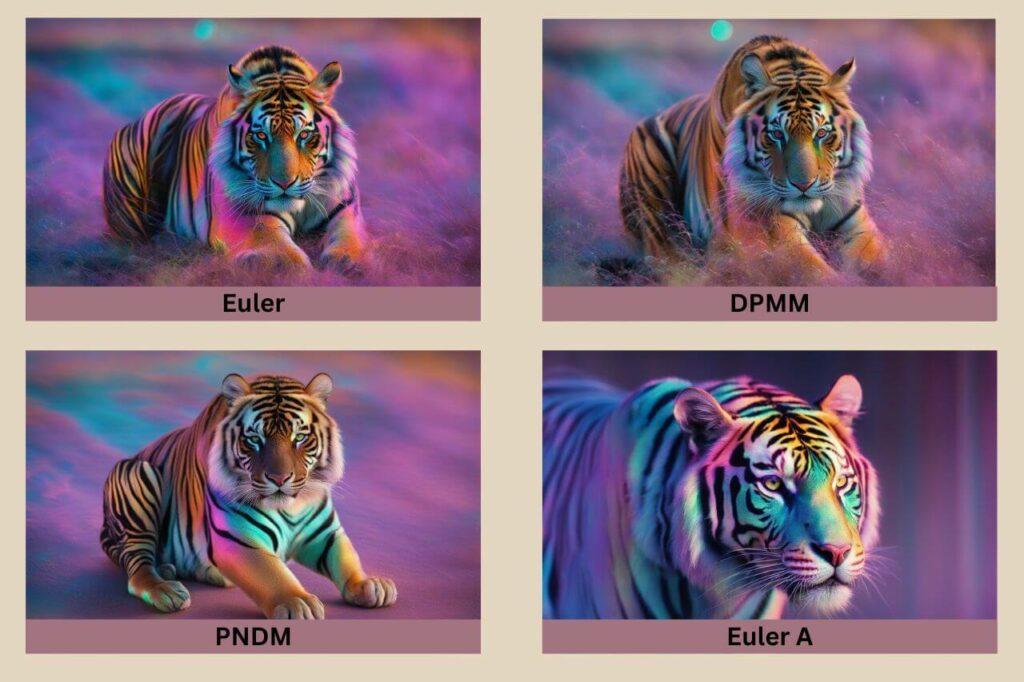
This is an image from my Mage Space tutorial and as you can see, the fourth image on the bottom right is pretty different from the other three.
Again, much like the Playground AI examples, you may notice that it’s the same sampler “Euler A” that produces a different image.
The reason for this is because this is an Ancestral sampler (which is any sampler with A at the end) and these tend to do things a little differently than their non-ancestral counterparts.
They can be a little unpredictable and as such, can often return completely different images to all the others although it doesn’t always happen but it is a pretty common occurrence.
Another thing to note is that certain samplers are better for certain types of images. For example, if you’re generating a nature landscape image, one sampler may be your favourite.
However, that same sampler may not produce the best results for an animated image or an image of a human portrait.
Hence the reason why it’s a good idea to try them all out to see which ones produce the kinds of images that you like the best for the type of image you’re trying to create.
Let’s Play Around With Some Samplers
Samplers are definitely something you need to play around with to find the ones you like working with the most. You’ll also find that you may have different preferences on different platforms with different AI Models.
For example, on Playground AI, my go-to sampler is Euler A but if I switch over to using NightCafe, then their default sampler K_DPMPP_2M is my preferred choice. Having said that, do bear in mind that it can depend on the types of images I’m trying to create.
So why not have a go for yourself and see which samplers generate the images you like the most? A simple switch of the sampler can make a subtle to major difference in the final image results you generate.
And as always, if you feel like sharing your sampler stories, please feel free to do so in the comments below. I love to hear all about them.
Happy Sampling!

You May Also Like
- Is Microsoft Copilot (Bing Chat) Good For Bloggers
- Is ChatGPT Or Bard (Gemini) Better For Bloggers
- How To Use Google Bard For Epic Blogging

